

The best fertilizer spreader setting is the one printed on your fertilizer bag for your exact spreader model, confirmed with a quick calibration on your own lawn. There is no universal “best” number, because the dial on a spreader is relative to that model, not a standard measurement. A 5 on one spreader does not release the same amount as a 5 on another. What you are really aiming for is a rate, the number of pounds of product per 1,000 square feet that the label calls for, delivered evenly at your normal walking pace.
This guide explains what the numbers on a spreader mean, where to find the right setting, why the label setting is only a starting point, how to check and adjust your spreader in about ten minutes, how to work out a rate from the nitrogen your lawn needs, and how walking speed and overlap change the result. The methods come from the Scotts guide to spreader settings and calibration, the Clemson Extension fact sheet on calibrating spreaders, and a Milorganite walkthrough of spreader settings.
The short answer
- Start with the label. Use the setting listed for your specific spreader model and type on the product you are applying.
- Know the target rate. Convert the bag’s coverage into pounds per 1,000 square feet. That rate, not the dial number, is what matters.
- Check it once. Load a known weight, cover a measured area, weigh what is left and compare with the label rate. Adjust the dial and repeat if it is off.
- Walk steadily. Scotts suggests a steady pace of about 3 mph, roughly 4 feet per second. Slower puts down more, faster puts down less.
- Overlap correctly. With a broadcast spreader, throw product back to the wheel tracks of the previous pass, and consider two half-rate passes at right angles for the most even coverage.
- Never reuse a setting from a different product. Seed, fertilizer and weed control granules all flow differently.
What the numbers on a spreader mean
Scotts compares the dial to a faucet. It controls how wide the gate at the bottom of the hopper opens, which determines how much product flows out as you walk. A higher number opens the gate wider and releases more product per pass.
The part that trips people up is that the numbers are relative to each spreader model. Scotts states plainly that a “5” on one Scotts spreader does not release the same amount as a “5” on a different brand or even a different Scotts model. That is why the product label, not the dial number alone, is the reference. It is also why a setting you read on a forum for someone else’s spreader is of limited use to you, even for the same fertilizer.
Milorganite’s walkthrough adds the physical picture. On a broadcast spreader, the setting controls how much fertilizer drops from the hopper onto the spinning impeller below, which then throws it outward. The larger the opening, the more product drops through.
Where to find the right setting
There are three places to look, in order of reliability.
- The product label. Scotts says every bag of its product lists the setting for its spreaders, and the Milorganite walkthrough shows the same on its own bag, listing a setting for the popular Scotts EdgeGuard DLX. Labels usually list settings for several common spreader models.
- The manufacturer’s online tool. Scotts offers a spreader settings lookup tool, and several other fertilizer makers publish spreader setting calculators organized by spreader model and product.
- A generic conversion chart. Garden centers and fertilizer suppliers publish charts that translate settings between spreader brands. Treat these as rough guidance only, since the age and condition of a spreader affect its output.
Whatever the source, Scotts gives one simple rule for using it: set the dial before you load the hopper, not after. And if your spreader is not listed at all, Scotts advises calibrating before your first application, since you will not have a label number to start from.
Why the label setting is only a starting point
The Clemson fact sheet says recommended spreader settings on a label are a great place to start, but not always accurate. The reasons are practical.
- Wear and damage. Scotts notes that gate components can wear after a few seasons, which can change the output even though the dial number has not changed. The Milorganite walkthrough points out that a new spreader may have been banged around in a store for months before you bought it.
- The person pushing it. Clemson recommends calibrating for each user, because differences in height and stride create different walking speeds, and walking speed changes the rate.
- The product. Clemson also says to calibrate for each material, because products vary in size, weight and density. Heavier, larger granules tend to be thrown further than light ones at the same walking speed.
Scotts suggests checking a spreader’s calibration once a year, or any time a lawn starts to look unevenly fed. Clemson frames the stakes clearly: an improperly calibrated spreader applies too much or too little product, which can mean uneven fertilization, injury to the lawn, poor pest control, environmental harm or simply wasted money.
Broadcast versus drop spreader settings
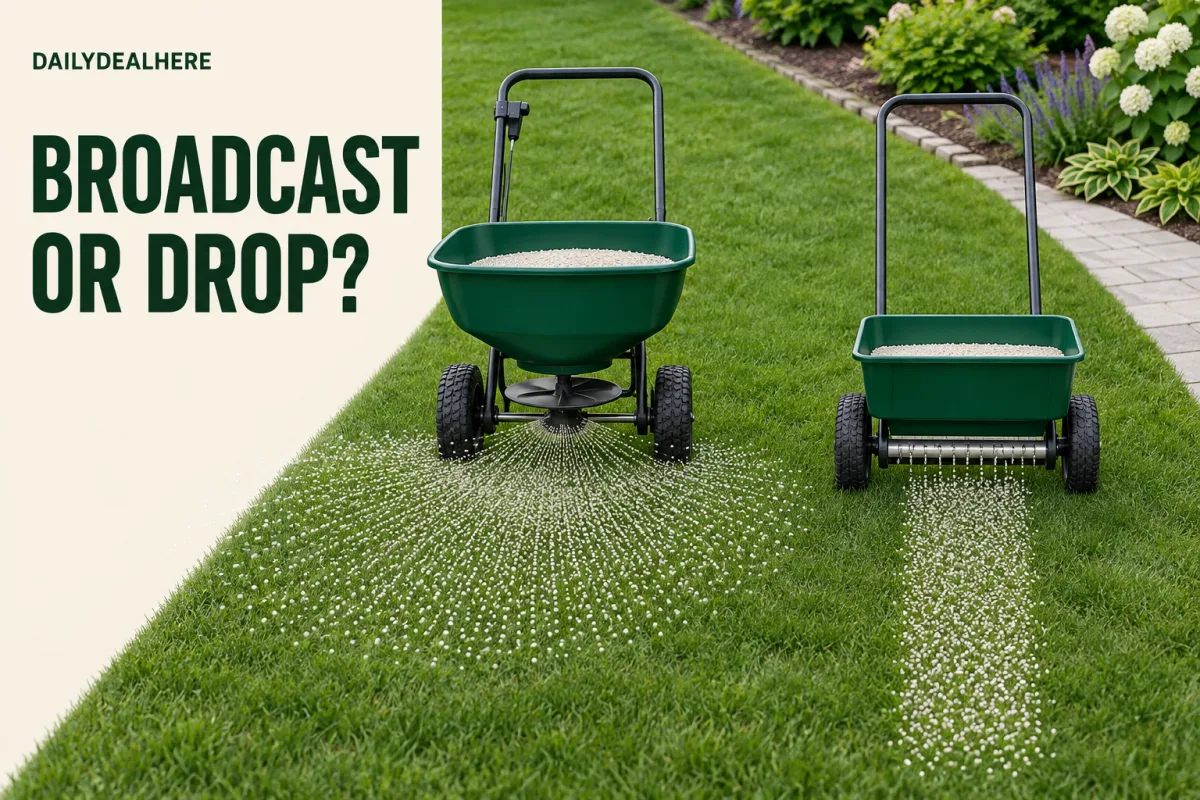
The type of spreader changes the setting for the same product, so it is essential to read the right line on the label.
| Spreader type | How it spreads | Typical setting for the same product | Best for |
|---|---|---|---|
| Broadcast (rotary) | A spinning impeller throws granules in a wide arc, which Scotts says typically covers a 5 to 6 foot swath | Lower number, because each spot receives product from more than one pass | Medium and large open lawns |
| Drop | Releases product straight down in a band the width of the hopper | Higher number, because the gate must open further to hit the rate in a narrow band | Small or irregular lawns, edges near beds and paving |
| Hand-held | A crank spins a small impeller | Only use the setting if the label lists one for hand-held models | Small patches and spot seeding |
Scotts is explicit that you should never use a broadcast setting on a drop spreader, or the other way around. The mismatch can double or halve the rate.
Hand-held spreaders deserve a specific warning. Scotts says they are not labeled for every lawn product, and that many granular weed control, crabgrass preventer and weed and feed products are not recommended for them because those products need more consistent coverage than a crank spreader can reliably deliver. If a label only lists broadcast and drop settings, use one of those instead.
Pounds per 1,000 square feet: the number that matters
Lawn products are rated in pounds per 1,000 square feet, and the Milorganite walkthrough makes this the foundation of everything else. To find your rate, divide the bag weight by its coverage in thousands of square feet. In the walkthrough’s own example, a 32 pound bag covering 2,500 square feet works out to 12.8 pounds per 1,000 square feet.
With that number, you can predict exactly how much product each part of your lawn should take. A 2,000 square foot section needs twice the per-1,000 rate. A 500 square foot strip needs half. The walkthrough recommends measuring your lawn and breaking it into logical segments of roughly 1,000 square feet, rounding to the nearest 500 is fine, so you always know how much product should end up on each area.
This is also why lawn size does not change the dial setting. Scotts explains that lawn size determines how many passes you make and how much product you load, not the number on the dial. If you have a 5,000 square foot lawn and a bag rated for 5,000 square feet, you use the label setting and aim to finish the bag in even, overlapping passes.
Working out a rate from the nitrogen your lawn needs
Sometimes you start from a nitrogen recommendation rather than a bag rate, for example from a soil analysis report or a local extension guide. The Clemson fact sheet shows the arithmetic. Divide the pounds of nitrogen you want per 1,000 square feet by the nitrogen percentage of the fertilizer, written as a decimal.
In Clemson’s example, a lawn needs 1.0 pound of nitrogen per 1,000 square feet, the fertilizer is 10-10-10, and the application will be split into two passes of 0.5 pound each. So 0.5 divided by 0.10 gives 5 pounds of fertilizer per 1,000 square feet for each pass. The same arithmetic produces the figures below for a full 1 pound of nitrogen in a single application.
| Nitrogen in the fertilizer (first number on the bag) | Product per 1,000 sq ft for 1 lb of nitrogen | Product per 1,000 sq ft for 0.5 lb of nitrogen |
|---|---|---|
| 10 percent | 10 lb | 5 lb |
| 16 percent | 6.25 lb | 3.1 lb |
| 20 percent | 5 lb | 2.5 lb |
| 24 percent | 4.2 lb | 2.1 lb |
| 29 percent | 3.4 lb | 1.7 lb |
| 32 percent | 3.1 lb | 1.6 lb |
These figures are simple math, not a recommendation for how much nitrogen your lawn needs. That depends on grass type, season and local guidance, and product labels already account for it in their stated rates. The table is most useful for checking whether a bag rate makes sense, or for planning a split application.
The quick weigh method
Scotts describes a simple calibration that works for any spreader, Scotts or not. It takes about ten minutes and needs a scale that reads to a fraction of a pound. The Milorganite walkthrough suggests an inexpensive luggage scale, which is handy for weighing any granular product through the year.
- Set the dial to the label recommendation for your spreader model.
- Load exactly 1 pound of product into the hopper.
- Walk a measured 100 square foot area, 10 feet by 10 feet, at your normal pace.
- Weigh what is left in the hopper. The difference is what you applied to 100 square feet.
- Compare with the label. The target for 100 square feet is one tenth of the per-1,000 rate.
- If it is off, nudge the dial up or down and repeat until it matches.
For example, if the label rate is 3 pounds per 1,000 square feet, the right amount on 100 square feet is 0.3 pound. If you put down 0.5 pound, you are applying about two thirds more than intended and should turn the dial down. A small area is harder to measure precisely, so if your scale allows it, the same method over a larger area gives a more reliable reading.
The Milorganite walkthrough suggests a practical variation: pick a section of lawn close to 1,000 square feet, load exactly one per-1,000 dose, and spread it. If the hopper empties just as you finish the section, your setting, speed and overlap are working together. If you run out halfway or have product left over, something needs adjusting, and you have only risked a small amount of product finding out.
The full calibration method
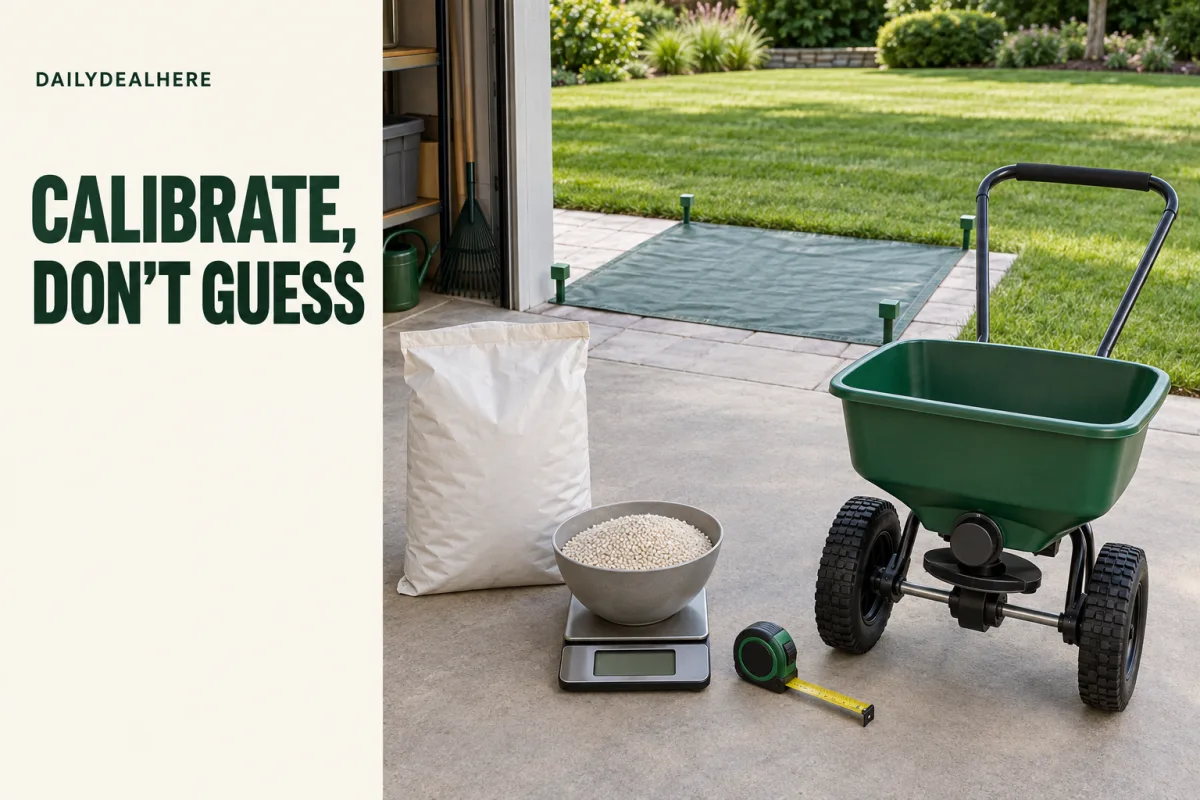
The Clemson fact sheet describes a more thorough procedure used by professionals, which also measures how wide your spreader actually throws. It needs a tape measure, a scale, a bucket, markers and, for the swath measurement, a row of shallow pans.
- Find the effective swath width using the pan method described in the next section.
- Mark a measured strip 100 feet long, or 50 feet walked twice, on pavement or unused turf where excess product can be swept up.
- Calculate the product needed on that strip. Clemson’s formula is the rate per 1,000 square feet, times the swath width times the strip length, divided by 1,000. At 5 pounds per 1,000 square feet, an 8 foot swath and a 100 foot strip, that is 4 pounds.
- Set the dial to the label recommendation, or to a middle setting if none is given.
- Load a known weight, Clemson suggests 10 pounds, using a bucket with its own weight zeroed on the scale.
- Walk the strip, getting up to normal speed before the first marker, opening the hopper at the first marker and closing it at the second.
- Weigh what is left, subtract it from the starting weight, and adjust the dial until the amount applied matches your calculated target.
It is more work than the quick method, but it gives you both the right setting and the right spacing between passes, which the quick method does not.
Measuring your effective swath width
Clemson explains that a broadcast spreader does not throw product evenly across its swath. Product is heaviest directly in front of the spreader and gets lighter with distance. The effective swath width tells you how far apart to space your passes so the light edges overlap into an even coat.
To measure it, Clemson lines up shallow pans about a foot square at 1 foot intervals, numbered from 0 outward, with a gap left next to the 0 pan for the spreader wheel. With the hopper about half full, walk back and forth across the line six to twelve times, passing directly over the 0 pan, until there is a measurable amount in the pans. Weigh or measure what landed in each. The pan holding about half as much as the 0 pan marks the edge of the effective swath on that side. If that is the 4 pan, the effective swath is 4 feet on each side, or 8 feet in total, and passes should be spaced 8 feet apart.
Clemson adds that with a drop spreader, the effective swath is simply the width of the spreader, so this step is only needed for broadcast models.
Walking speed changes everything
Every source agrees on this. Clemson states that as walking speed increases the application rate decreases, and as speed decreases the rate increases. With a rotary spreader, faster walking also throws product further out. The Milorganite walkthrough goes as far as saying walking speed and overlap are even more important than the setting itself.
Scotts suggests a steady pace of about 3 mph, roughly 4 feet per second, throughout the application. The key word is steady. Whatever pace you calibrate at is the pace you must hold when you apply. Clemson recommends starting several feet before the marked area so you are already at speed when the gate opens, and Scotts advises always starting to walk before you pull the lever, so product does not dump in one spot.
A few practical habits help: close the gate when you stop or turn, keep the same pace uphill and down, and avoid pausing with the gate open. Turning or stopping with the gate open is an easy way to create a dark green or burned patch.
Overlap and the pattern you walk
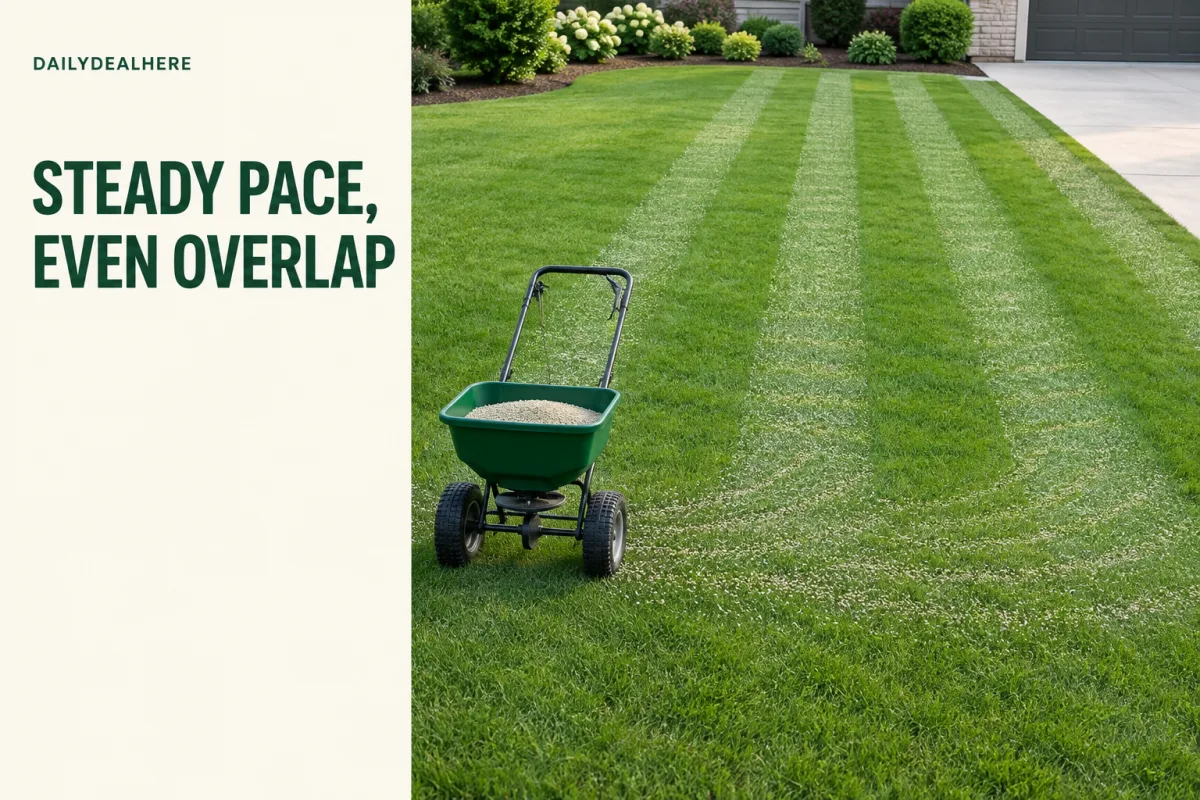
The Milorganite walkthrough gives the simplest rule for a broadcast spreader: as you go back and forth, throw fertilizer back to the wheel tracks of the previous pass. That overlap evens out the lighter edges of each pass.
Scotts recommends making a perimeter pass around the lawn first, then filling the center with parallel passes. On the perimeter, engage the edge guard or deflector if your spreader has one, which Scotts describes as blocking product from being thrown off one side onto driveways or flower beds.
The half rate, two direction method
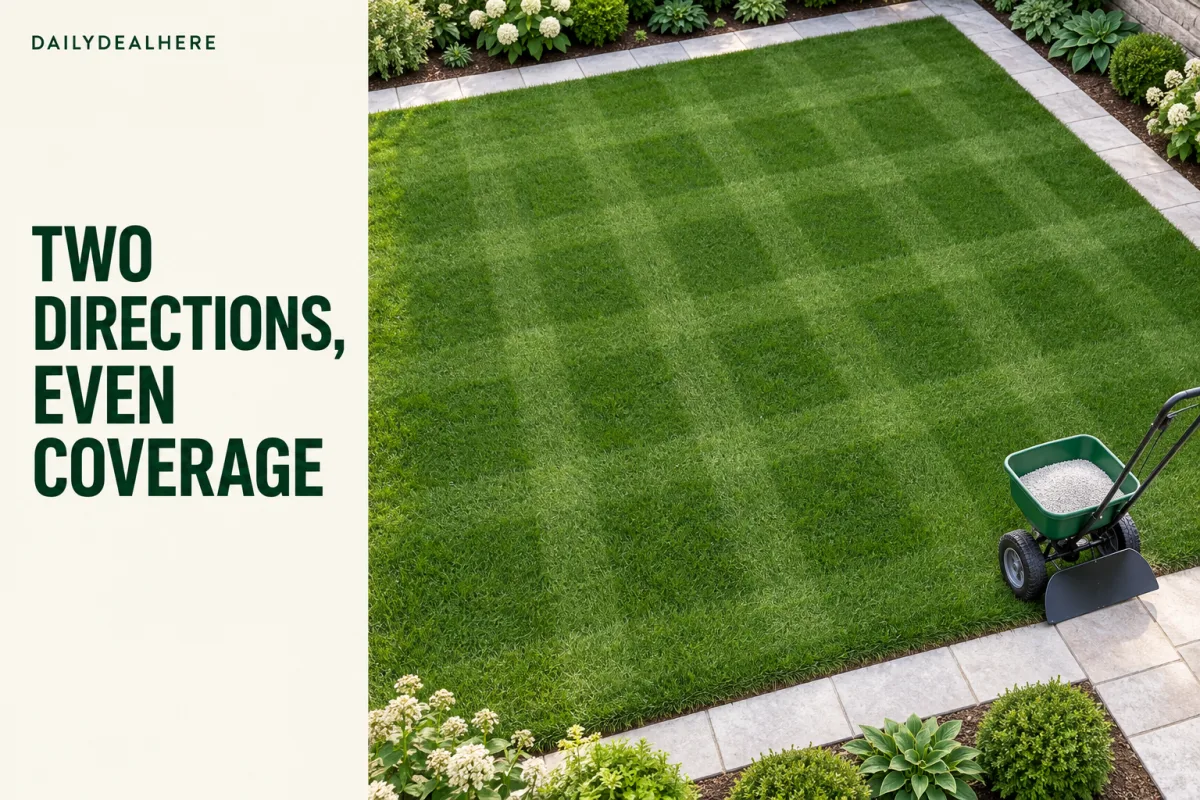
For the most even coverage, Clemson recommends making two perpendicular coverage passes when applying fertilizer. You set the spreader to deliver half the target rate, cover the whole lawn in one direction, then cover it again at right angles.
This method is forgiving. Any stripe you miss or double up on the first pass is crossed by the second, so errors are halved rather than printed onto the lawn as green and yellow bands. The cost is time, since you walk the lawn twice. For a small lawn, or any time you have had striping problems before, it is well worth it. Just be sure to calibrate for the half rate, as in Clemson’s example of two passes of 0.5 pound of nitrogen each.
Different products need different settings
Scotts is emphatic that you should never reuse a setting from a different product, or from an older version of the same product. Fertilizer and grass seed have different granule sizes and weights and flow at different rates through the same gate opening. A crabgrass preventer and a straight lawn food also differ in granule size and label rate.
So even if you calibrated perfectly last spring, recheck the label every time you change products. The dial number is tied to the product, not to your spreader alone. If you use a liquid program for weed control instead, our guide to the best lawn and garden sprayers covers the equipment side of that approach.
Avoiding burn and streaks
Scotts describes the two failure modes clearly. Too much fertilizer concentrated in one area pulls moisture out of the grass, leaving yellow or brown streaks that follow the spreader’s path. Too little leaves the lawn pale, streaky and open to weeds, and seeding at too low a setting gives thin, patchy germination.
- Prevention: Scotts lists three steps, using the label setting, walking at a consistent pace and watering lightly after applying granular fertilizer, while checking the label first to see whether watering is recommended.
- If you do burn a strip: Scotts advises watering the area deeply for several days to flush the excess below the root zone and reseeding any patches that do not recover.
- If you see stripes: the cause is usually overlap or pace rather than the setting. Switch to the two direction method next time.
If you are still choosing the fertilizer itself, our guide to the best slow release fertilizers explains how slow and quick release formulas differ.
Weather, soil and timing
The dial setting stays tied to the label, but conditions affect how well the application works.
- Rain: Scotts advises avoiding applications right before heavy rain on sandy soil, since product can be lost to runoff. It adds that soil type is a timing consideration, not a reason to change the dial.
- Season: Scotts suggests applying a crabgrass preventer in spring ideally before soil temperatures reach 55 degrees Fahrenheit, and for warm season lawns, tapering nitrogen as temperatures drop below 70 degrees.
- Local rules: Scotts notes that some states, such as Florida, restrict nitrogen and phosphorus applications during summer months, so check local rules alongside the label.
- Setting too high: Scotts also warns that over-application wastes product and can wash excess into storm drains instead of feeding the grass.
If crabgrass is the main target in a warm season lawn, our guide to the best crabgrass killer for Bermuda grass covers product choices.
Looking after your spreader
A spreader that is not cared for drifts out of calibration faster. Scotts gives a few simple rules.
- Keep the gate closed while filling the hopper, and confirm the shut-off plate is fully closed before you fill or move the spreader.
- Never store the spreader with product left in the hopper.
- Start walking before opening the gate, and close it before you stop.
- Check calibration once a year, since gate parts wear.
For Scotts broadcast models, the company also publishes a factory calibration check that uses a drill bit to confirm the gate opening, and a separate procedure for its classic drop spreader. If your weigh method results are consistently off, that check is the next step before replacing the spreader.
A worked example from start to finish
Here is how the pieces fit together for a typical front lawn.
- Measure the lawn: say 3,000 square feet, split into a 2,000 square foot main area and a 1,000 square foot side strip.
- Read the bag: a bag covering 5,000 square feet at 15 pounds gives 3 pounds per 1,000 square feet. The main area needs 6 pounds and the side strip needs 3 pounds.
- Set the dial to the label setting for your spreader model and type, before loading.
- Run the quick weigh method: load 1 pound, cover 100 square feet, and look for about 0.3 pound applied. Adjust if needed.
- Load exactly 3 pounds and spread the side strip at a steady pace, throwing back to the previous wheel tracks. The hopper should empty as you finish.
- Load 6 pounds for the main area. Walk the perimeter first with the edge guard on, then fill the center with parallel passes.
- Water lightly afterward if the label recommends it, sweep any granules off paving, and empty and clean the spreader.
If the hopper runs dry early or leaves product over, that tells you whether you walked too slowly or too fast, or spaced your passes too tightly or too widely. Adjust one thing at a time on the next application. For the rest of the lawn routine, our guide to the best lawn mowers covers machines for every size of yard.
Frequently asked questions
What setting should my spreader be on for fertilizer?
The setting printed on the fertilizer bag for your exact spreader model and type. Spreader numbers are relative to each model, so there is no universal setting. Confirm it by weighing how much you actually apply over a measured area and comparing with the label rate.
How do I choose the right spreader setting?
Start with the label setting for your spreader, work out the target rate in pounds per 1,000 square feet, then load 1 pound, cover 100 square feet at your normal pace and weigh what is left. Adjust the dial until the amount applied matches one tenth of the per-1,000 rate.
What setting should I use on my Scotts fertilizer spreader?
Use the number on the product label for your specific Scotts model, or the Scotts spreader settings lookup tool. Scotts says to set the dial before loading, and notes that its broadcast and drop spreaders use different numbers for the same product.
What do the numbers mean on a fertilizer spreader?
They control how wide the gate at the bottom of the hopper opens. A higher number opens it wider and releases more product. The numbers are not a standard unit, so a 5 on one spreader does not match a 5 on another model or brand.
Can I use the same setting for grass seed and fertilizer?
No. Seed and fertilizer have different granule sizes and weights and flow at different rates through the same opening. Always use the setting listed on the specific product you are applying.
Does a drop spreader use the same setting as a broadcast spreader?
No. Drop spreaders usually need a higher number for the same product because they release it in a narrow band, while broadcast spreaders spread each pass over a wider area and use a lower number. Use the line on the label for your spreader type.
How fast should I walk with a spreader?
Scotts suggests a steady pace of about 3 mph, roughly 4 feet per second. Walking faster lowers the rate and walking slower raises it, so the pace you hold while applying should match the pace you used when calibrating.
How often should I calibrate my spreader?
Scotts suggests checking once a year, or whenever the lawn looks unevenly fed. Clemson Extension also recommends calibrating for each person who uses the spreader and for each product, since stride and granule size both change the rate.
Read the label for your model, turn the bag into pounds per 1,000 square feet, weigh one small run to confirm it, then walk steadily and overlap to the previous wheel tracks. The right setting is the one you have proved on your own lawn.










Write Your Review
No reviews yet. Be the first to share your experience!